Writing good user research summaries can be hard.
They’re supposed to communicate complex, detailed user testing findings in a really concise and simple way. This can be a bit of a challenge for non-writer folks like UX designers.
Are you one of them?
If yes, you’re in the right place. This article is here to help you write clearly, so you don’t end up with a huge summary that no one really wants to read.
Keep reading to know how to write a great research summary everyone will want to get credit for.
How to Write a User Research Summary: Step-by-Step Instructions
Now, let me walk you through the nine steps of writing that epic user research summary.
Step 1. Go Over Research Findings Once Again
Used-based testing is complex. To make sense of the insights from testers, you have to pay attention to every single detail. Not to mention that some critical thinking skills are necessary to read between the lines and make meaningful recommendations.
How to make sure to cover all bases? Read/analyze/watch research materials once again before writing. Not only does this refresh your memory, but it also gives one more chance to spot something important.
So, go over the results and make notes for yourself. The goal would be to summarize the results and make it easier for yourself to structure the summary.
Step 2. Make an Outline
With the research findings and notes fresh in your mind, proceed to outline your summary. It’ll be helpful to structure your thoughts and present everything in a logical order.
There’s no magical formula for the best summary structure, but you can go for this one. It ensures a logical flow of information and covers all important areas.
Report Outline Example
- Research goals and objectives (research questions)
- Summary of the most important findings
- Methodology + participants
- The findings in more detail
- Bugs and other issues
- Recommendations.
Sounds good? If yes, read more about each section next.
Step 3. Research Goals and Objectives (Research Questions)
The first section of your report should give a quick project background. It will give context to the goals and objectives. Describing them will be the most important part to help readers understand how the project contributed to making a better product.
For example:
“For this user testing project, our team was looking to understand the user’s impressions and perceptions of ABC app.”
Consider using a bullet list to describe your goals. This format clarifies writing and is easy to spot and read.
Pro tip: Include a sentence describing the goal of your summary. It can be something like:
“This report describes the user testing process, how the data was collected, the most important results, and recommendations.”
Related: User Testing a Mobile App Prototype: Essential Checklist.
Step 4. Summary of the Most Important Findings
“So what did they find? What do I need to know?
This section should answer these questions. The findings you need to describe are the themes that occurred across more than one tester, e.g., three users struggling to understand how to complete a certain action.
Struggling to keep the sentences you’re writing short and clear? Consider getting professional writing help from tools like Hemingway Editor. Remember that a clear description is critical to making the entire summary useful.
One way to give a clear explanation is to group the findings by themes, e.g., “Navigation.” If you wish to introduce more structure, also consider giving each finding a priority value (low, medium, and high). For example, the findings that point to the most severe issues can be given a “high” priority.
Step 5. Methodology + Participants
Describe the methods that were used to complete the testing.
Say, you invited 30 people between the ages of 20 and 40 to your office and several coffee houses around the city. You asked them to test your new app and tell you their thoughts.
After they “played” with your app for about 20 minutes, you sat down with each tester and talked. So, the primary method of collecting data was an interview.
There were two parts to it. During the first part, the tester shared their experiences with the interviewer. The second part had the interviewer asking the tester a series of pre-written questions, e.g., “Did you find it difficult to book a breakfast via our app?”
To describe this plausible UX research methodology, you can use this structure:
- Interview plan + questions. Here, list the structure of the interview, e.g., “The interview started with a quick introduction…”
- Most important interview questions. Describe the questions in a bullet list and add your reasoning to each (see the next point)
- The reasoning behind questions. Include a short explanation of why a particular question was asked, e.g., “With this question, we were trying to learn how to present information about additional hotel features in a way that even skeptical app users would click to see more”
- Participant description. Let the readers know how many testers participated, and give some demographic details like age, gender, and why they were chosen.
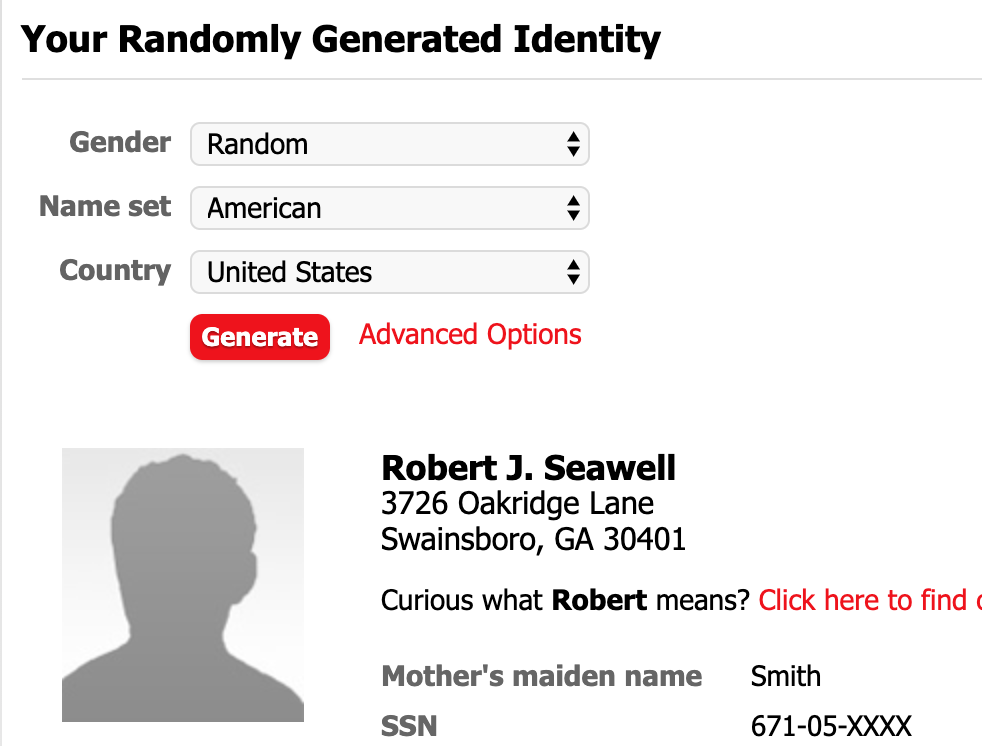
Pro tip: Consider giving the participants fake names in the summary. It’ll make them easier to remember compared to generic “Participant I” or “Participant II.” To make this process more fun, use the famous Fake Name Generator.

Related: Top 10 Questions When Recruiting Participants for User Tests.
Step 6. Test Findings, in More Detail
You’ve given some idea of test findings already, but now it’s time to really go in detail. In this section, you don’t just state the findings, but also provide your explanation of why the test ended this way.
Here’s how you can write the explanation (a very concise one, go for more details):
“The testers weren’t interested in viewing the extra booking features on the app’s home page. According to them, they rarely got to the bottom of the page where the banner was placed. To engage more users, we need to move it up close to the search feature.”
Jenny Amendola, a UX writer from SupremeDissertations, advises to “Differentiate the results by assigning values like ‘Good’ and ‘Bad’ to them. This way, you can make it easier to understand the results.”
Let the readers know how you organized, analyzed, and grouped the results into themes, too.
Step 7. Bugs and Other Issues
In this section, provide the description of problems discovered during the test that affected the results. Feel free to make it into a bullet list where each bug/issue comes with an explanation.
Categorizing them is also a good idea to clarify the text. For example…
| Bugs and Other Issues (App Testing) The description of problems discovered during the test that affected the results. Category 1: Buttons Inappropriate button size Non-standard buttons Category 2: Typography Non-standard fonts Poor contract between the page’s background and fonts Too small font on the checkout page. |
Important! Be sure to include screenshots and images to visualize each issue. It’ll help UX designers understand what you mean.
Step 8. Recommendations
It’s time for your critical thinking genius to shine. In this section, list the ideas for improvement, from most important to least important.
Feel free to follow the structure we’ve used so far: the themes, categories, and bullet lists with explanations. Also, consider supporting each recommendation with a quote from a tester.
For example:
“Recommendation 1: We need to focus more on making extra booking options visible above the fold on the home page:
Tester review: ‘I rarely scroll down to the bottom of the home page, so I didn’t see that banner.’”
Some visuals with your recommendations could also be useful even if you create something really simple in an image processing app.
Need some help with spotting improvement opportunities and coming up with useful recommendations? Read a beginner-friendly, simple guide below to get started.
Read the Guide: A Beginner’s Guide to User Experience Testing.
Just One More Thing…
Put your name on that awesome summary.
As a UX researcher or someone involved in doing user research, you’ll be writing many more summaries in the future. Keep this outline to make the next one easier.
Happy writing!
![]() Give feedback about this article
Give feedback about this article
Were sorry to hear about that, give us a chance to improve.


