Learn how to recruit participants for your Loop11 usability test with this step-by-step guide. Follow along as we walk you through the process of setting the number of participants, adding a completion URL, adding a pop-up invitation, and more. Discover the three main ways to find participants for your Loop11 usability test: sending a link to your own list, creating a pop-up invitation, or recruiting from a panel. Plus, find out how to run tests using JavaScript or the no-code solution. Watch now to start gathering valuable user testing data! View Transcript
Video Transcript:
Now that your project is all set up, with your tasks and questions ready to go, the next step is to finalize your project settings and recruit participants.
First, insert your thank you message here. Then, enter in the number of participants required. Note that the project will close once you receive this amount.
If you have a URL you would like your participants to land on once they finish the test, insert that here. Otherwise the default completion page will be used.
If you want to track participants as they enter the project and record their URL parameters, select YES.
Select whether you would like to anonymise the participant IP addresses. Note that EU participants will always be anonymous.
Here you can allow multiple responses from the same IP, if required.
Finally, you can choose to include or exclude certain IP addresses. Click done to move to the next step.
Now, onto the main topic: finding participants for your usability test. There are three main ways to do it:
To create a link to send to your own list, select this first option.
Loop11 tests can be run in one of two ways, either by inserting JavaScript into the website/prototype you are testing, or, using our simple no-code solution.
If you use the JavaScript method, the script must be added to every single page you wish to test. The beauty of the no-code solution is that you do not have to add any code, anywhere. You can even test websites which you do not own.
Note that if you want to record video or audio, you must use the No-Code option.
Click save, and you can launch your project here. The Project URL is below which you can then distribute to your participants. Note that if you wish to set up a screener, you will need to generate a new link in the screener area. We have another video on how to set up a screener.
If you would like to create a pop-up invitation, select the second option. Here, you can edit your pop-up invite message. Remember this handy AI assist tool is here if you need some help with the writing.
The invitation rate is the percentage of visitors to your website that will be prompted with the pop up. For example, if you wanted to ask every single visitor, set the rate to 100. To ask every second visitor, set the rate to 50.
Again, you will have to choose between running the test No-Code or Javascript. Click save. Launch your project and copy & paste this code just above the closing <body> tag on every page you want the pop-up invite to appear.
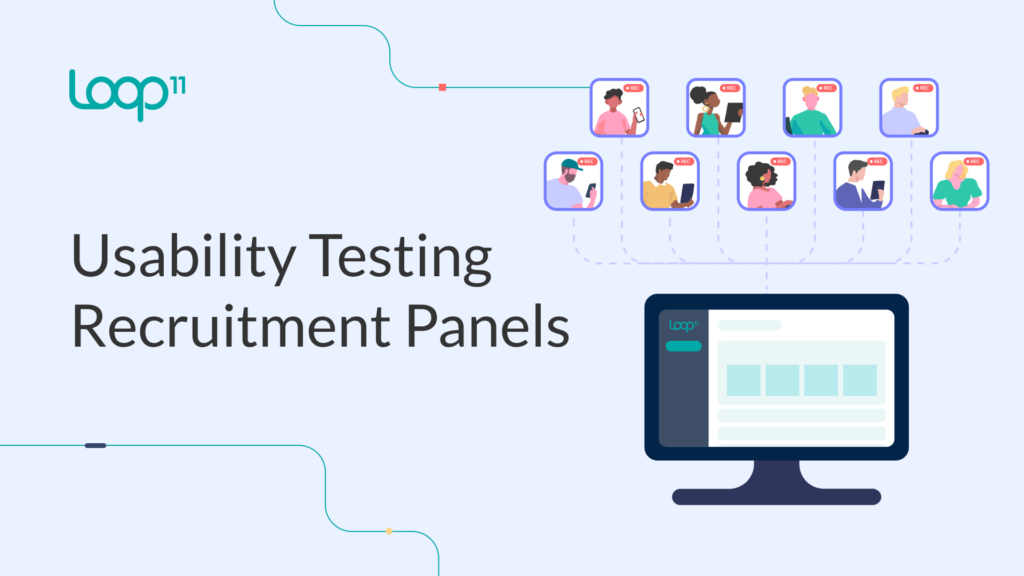
Finally, the last option for recruiting participants is by using one of our panels. Each panel has different pros and cons so we’ll cover each in-depth, on another video.
And that’s it! You’ve now created your Loop11 test, set up the tasks and questions, launched, and begun the recruitment process. Next up is the fun part of watching all that valuable user testing data come in. Thank you for watching and happy testing!
Explore the essentials of Loop11 with our ‘Getting Started’ playlist. Learn how to create tests, utilize the AI test creator, navigate project templates, and set up tasks and questions. Whether you’re a beginner or experienced user, these videos provide practical insights to enhance your user testing proficiency.
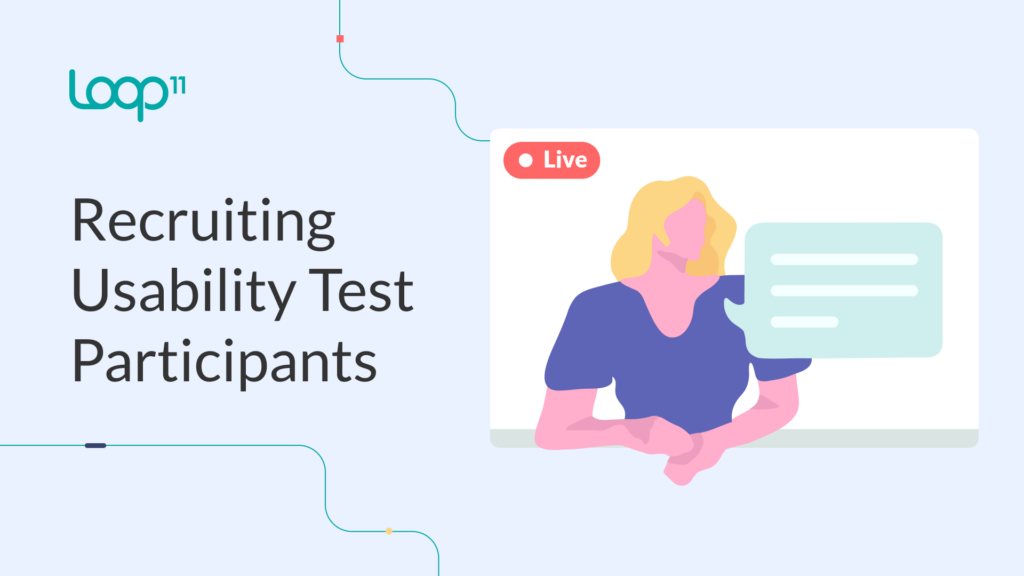
Learn how to recruit participants in Loop11. Explore effective strategies for sourcing participants, discover the various recruitment panels available, and learn to create precise screeners. Streamline your recruitment process and get testing right away.
Start your free trial today and begin optimizing your digital products with Loop11.

We love sharing interesting UX topics and work by creatives out there. Follow us for weekly UX posts, inspirations and reels!