


Many Loop11 users run e-commerce websites powered by the Shopify platform. E-commerce websites are arguably among some the most relevant websites on which to perform user testing.
When creating a Loop11 test you have two options. You can either insert JavaScript into your website, or you can choose to use the no-code user testing alternative. If you choose the no-code option then there is nothing to do, you’re ready to go!
Adding the Loop11 JavaScript to your Shopify website is also a breeze. In this article we’ll show you how to install the Loop11 code in six easy steps.
1. Log in to your Shopify Dashboard.
2. Click “Online Store“, then click “Themes“.


3. In the top-right corner, next to your active theme, you’ll see a button with three dots, “…”, click this button.
4. A small sub-menu will appear, click “Edit HTML/CSS”.

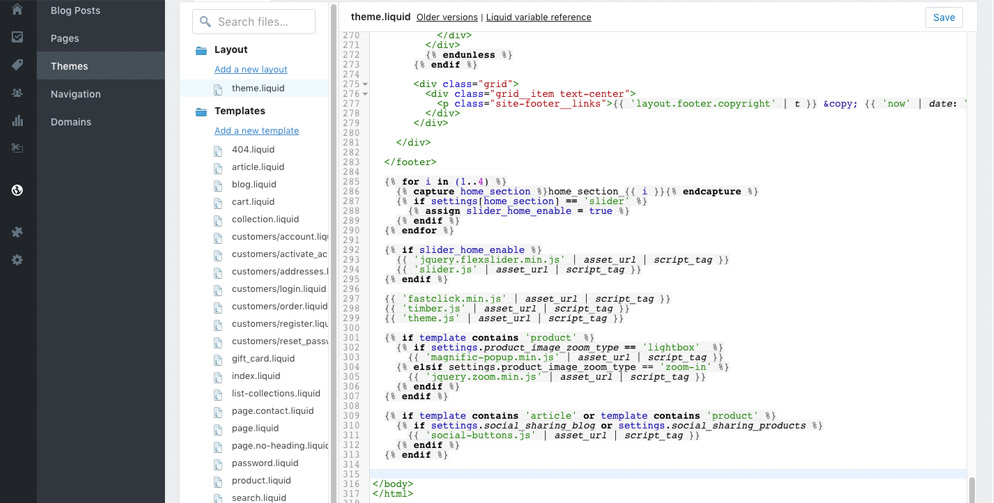
5. Under ‘Layouts’ title, click ‘theme.liquid’. This will open your website’s template file.
6. Scroll to the bottom of the document. Then, just before the tag, paste the Loop11 code. To find your Loop11 code, log in to Loop11 and navigate to ‘My Account’. You’ll find your code on this screen.
7. Once your code is pasted into your Shopify template file, click ‘Save’.
That’s all there is to it! Once you’ve launched your user test, visit your store to ensure the code is properly enabled. When you launch your project Loop11 will provide you with the launch URL.
You should note that Shopify does not currently allow users to track the checkout flow. So you won’t be able to add the Loop11 code to the checkout and payment pages.
![]()
![]() Give feedback about this article
Give feedback about this article
Were sorry to hear about that, give us a chance to improve.
